Materials You’ll Need
18mm plywood (or MDF)
Wood glue
35mm screws
2 hinges
Cabinet handle
Sandpaper (120–240 grit)
Paint or varnish (optional)
Tools Required
Circular saw or handsaw
Drill/driver
Tape measure
Square
Clamps (optional)
Step 1 — Cut Your Panels
Cut the following:
2 sides: 700×400mm
Top and bottom: 400×400mm
Back panel: 700×400mm (optional)
Door: 690×390mm
Tip: If you don’t want to cut boards yourself, most DIY stores cut plywood to size
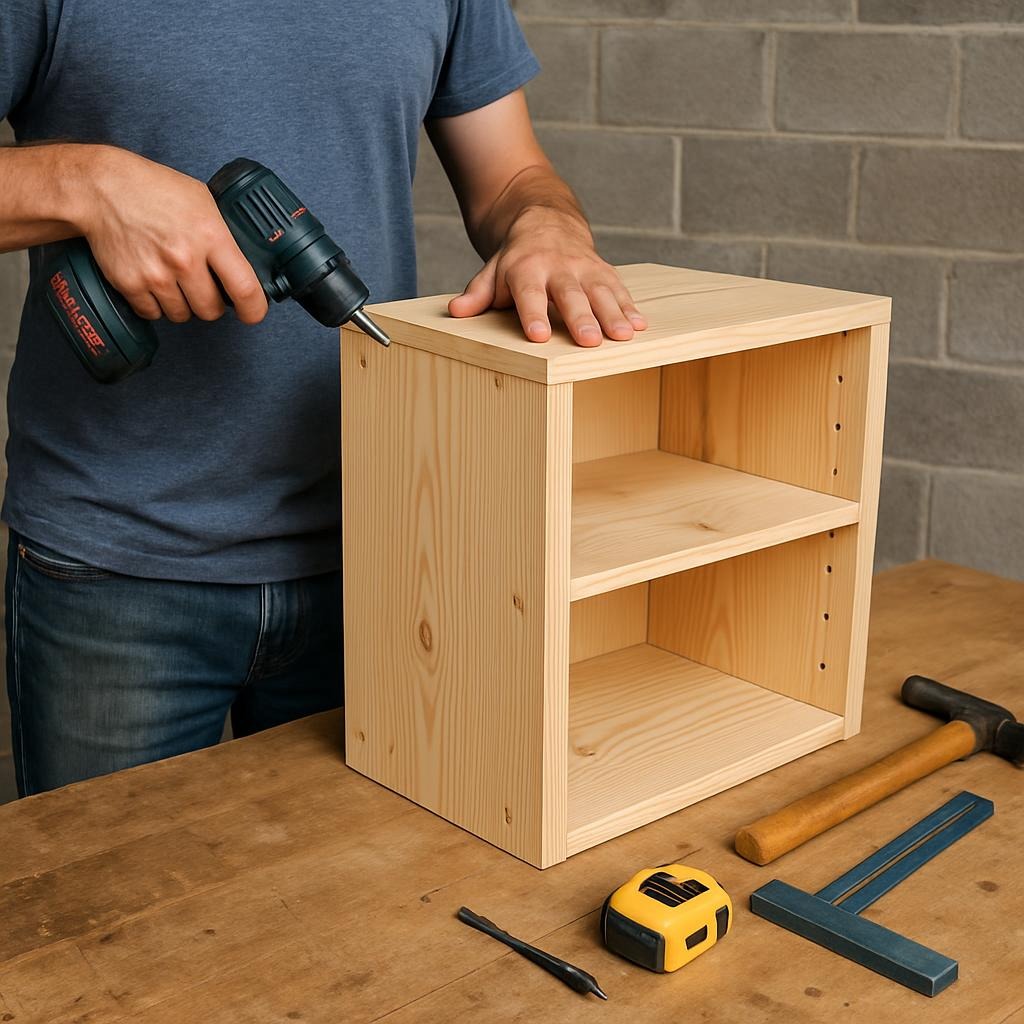
Step 2 — Assemble the Box
Stand the two side panels upright.
Place the top and bottom pieces between them.
Screw through the sides into the top/bottom.
Add wood glue for extra strength.
This creates your base cabinet carcass.
Step 3 — Fit the Back Panel (Optional)
Nail or screw the back panel on.
This squares up the cabinet and strengthens it.
Step 4 — Attach the Door
Mark hinge positions 100mm from top and bottom.
Screw hinges to the door.
Then screw the hinge plates to the cabinet body.
Adjust so the door sits flush.
Step 5 — Sand & Finish
Sand all edges smooth.
Paint, varnish, or leave natural.
Add your handle.
Your cabinet is done!